
tutorial one
how to log in to formpa's web console and an overview of formpa
Are you ready to start your FormPA journey? Come on, let’s get started!
Step 1 – Go to http://console.formpa.com/formpa.html
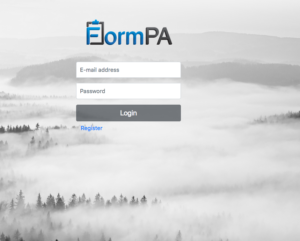
Step 2 – In the “username” section, type in your email address and then type in your password. Click “login” once you have filled out these fields.
You are now logged in and ready to explore FormPA.
HERE IS AN OVERVIEW OF WHAT YOU WILL BE ABLE TO DO AFTER LOGGING IN:
Access to the web console enables the user to create forms, edit forms, view filled in forms and also decide what users will have access to.
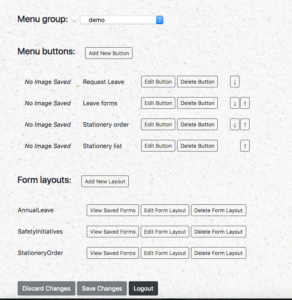
The “form layout” section enables you to create the forms that will display on the mobile version of FormPA.
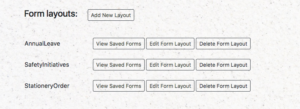
Your first step will be to decide what forms you would like to create. The “Form layout” section is where you will do this.
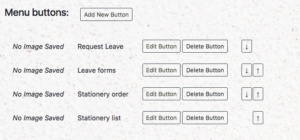
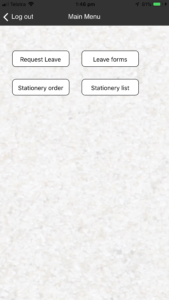
After you have created your forms, you will need to create the menu buttons. These menu buttons will appear on your mobile version and allow users to fill out forms and upload them to the server.
Notice the “menu group” section at the top of the page, this allows you to change between groups and assign users to a particular group. This means that you can control what forms will be accessible to certain users in your organisation.

Each group will have access to different menu buttons. It is your choice as to what menu buttons are assigned to which group and display on their mobile version of FormPA. The picture below shows how the menu buttons that you created using the FormPA console will display on the app version of FormPA.
Remember, only those who have access to the web console page will be able to create layouts, edit them and control what users of FormPA see on their mobiles. They also will be the only ones who can view the filled in forms that have been uploaded to the server.
Are you ready to explore our other lessons? Click here to return to the list of tutorials